

Hey there! I'm a supplier of Rotor Gluing Machines, and today I wanna chat about how to adjust the gluing angle of these machines. It's a crucial aspect that can significantly impact the quality of the gluing process, so let's dive right in.
Why Adjust the Gluing Angle?
First off, you might be wondering why adjusting the gluing angle is even necessary. Well, different rotors have different shapes and requirements. A proper gluing angle ensures that the adhesive is applied evenly and precisely to the right areas of the rotor. This not only improves the bonding strength but also reduces the chances of glue wastage. For instance, if the gluing angle is off, you might end up with too much glue in one spot and not enough in another, which can lead to weak joints or messy work.

Tools You'll Need
Before we start adjusting the gluing angle, let's talk about the tools you'll need. You don't need a bunch of high - tech stuff. A basic set of wrenches and screwdrivers will do the job. You'll also need a protractor to measure the angle accurately. Some advanced Rotor Gluing Machines might come with digital angle indicators, which are super handy as they give you a more precise reading.
Step 1: Preparation
The first step is to make sure the machine is turned off and unplugged. Safety first, folks! You don't want any accidental starts while you're tinkering with the machine. Next, clean the area around the gluing head. Any dirt or debris can interfere with the adjustment process and might also affect the gluing quality later on.
Step 2: Locate the Adjustment Mechanism
Every Rotor Gluing Machine is a bit different, but most of them have an adjustment mechanism for the gluing angle. This could be in the form of bolts, screws, or knobs. Usually, you can find these near the gluing head or on the side of the machine. Refer to the machine's manual if you're having trouble locating it. The manual will have a detailed diagram showing exactly where the adjustment parts are.
Step 3: Initial Measurement
Once you've located the adjustment mechanism, use your protractor or digital angle indicator to measure the current gluing angle. Write this down. It's important to know the starting point so that you can make accurate adjustments and also go back to the original angle if something goes wrong.
Step 4: Making the Adjustment
Now, it's time to make the actual adjustment. If you're using bolts or screws, loosen them slightly. Don't remove them completely, just enough so that you can move the gluing head. If it's a knob, turn it slowly in the direction you want to change the angle. As you're making the adjustment, keep an eye on the angle measurement. Make small adjustments at a time. This way, you can avoid over - adjusting and getting an angle that's way off from what you need.
Step 5: Testing
After you've made the adjustment, it's time to test it. Plug in the machine and turn it on. Run a test piece through the machine. Check the gluing pattern on the test piece. Is the glue being applied evenly? Does it cover the right areas of the rotor? If not, you might need to make further adjustments. Go back to step 4 and make small changes until you get the desired gluing pattern.
Step 6: Finalizing the Adjustment
Once you're satisfied with the gluing pattern, tighten the bolts or screws (if you loosened them earlier) or lock the knob in place. Make sure everything is secure so that the gluing angle doesn't change during normal operation.
Tips and Tricks
- Keep Records: It's a good idea to keep a record of the adjustments you make. This can be helpful in the future if you need to make similar adjustments or if you encounter any issues with the gluing quality.
- Regular Maintenance: Regularly check the gluing angle as part of your machine's maintenance routine. Over time, vibrations and normal wear and tear can cause the angle to change slightly.
- Training: Make sure your operators are trained on how to adjust the gluing angle. This will ensure that the machine is used correctly and that the gluing quality remains consistent.
Related Machines
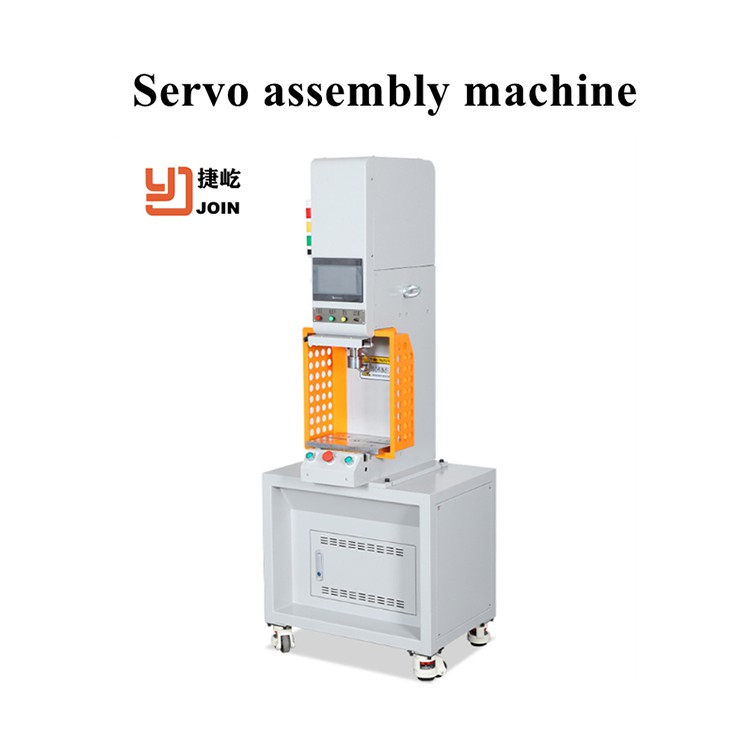
If you're in the market for other motor automation equipment, we also offer some great options. Check out our Bearing Assembly Machine, Servo Assembly Machine, and Static Powder Coating Machine. These machines are designed to work seamlessly with our Rotor Gluing Machines, providing a complete solution for your motor manufacturing needs.
Contact Us for Purchase
If you're interested in our Rotor Gluing Machines or any of our other products, we'd love to hear from you. Whether you have questions about the gluing angle adjustment process or want to discuss your specific requirements, we're here to help. Reach out to us for a friendly chat and let's start a great business partnership.
References
- Manufacturer's manual for Rotor Gluing Machines
- Industry best practices for motor automation equipment maintenance


