

As a trusted supplier of Rotor Gluing Machines, I understand the importance of proper maintenance to ensure the longevity and optimal performance of these valuable pieces of equipment. One crucial aspect of maintenance is regular cleaning. In this blog post, I'll share a comprehensive guide on how to clean a Rotor Gluing Machine effectively.

Why Cleaning is Essential
Before diving into the cleaning process, it's important to understand why cleaning a Rotor Gluing Machine is so crucial. Over time, glue residues, dust, and other contaminants can accumulate on various parts of the machine. This buildup can lead to several issues, such as reduced adhesive quality, clogged nozzles, and even mechanical failures. Regular cleaning not only ensures consistent and high - quality gluing but also extends the lifespan of the machine, saving you time and money in the long run.
Pre - cleaning Preparations
- Safety First:
- Always turn off the machine and unplug it from the power source before starting the cleaning process. This prevents any risk of electrical shock.
- Wear appropriate personal protective equipment (PPE), including gloves and safety glasses, to protect yourself from glue residues and cleaning agents.
- Gather Cleaning Supplies:
- You'll need a variety of cleaning supplies, such as lint - free cloths, soft brushes, mild detergents, and specialized glue - removing solvents. Make sure the cleaning agents are compatible with the materials used in the machine.
- Refer to the Manual:
- Consult the machine's user manual for specific cleaning instructions and any precautions related to your particular model of Rotor Gluing Machine. Different machines may have unique features or components that require special care.
Step - by - Step Cleaning Process
1. Exterior Cleaning
- Wipe Down the Surface:
- Use a lint - free cloth dampened with a mild detergent solution to wipe the exterior of the machine. Pay special attention to areas where glue may have splattered, such as the control panel, frame, and door handles.
- Dry the surface thoroughly with a clean, dry cloth to prevent water damage.
- Clean the Housings:
- Remove any loose debris or dust from the machine's housings using a soft brush. Be gentle to avoid scratching the surface.
- If there are stubborn stains or glue residues on the housings, you can use a specialized glue - removing solvent. Apply the solvent to a cloth and gently rub the affected area until the residue is removed.
2. Nozzle Cleaning
- Remove the Nozzles:
- Most Rotor Gluing Machines allow for easy removal of the nozzles. Follow the instructions in the user manual to carefully remove the nozzles from the machine.
- Soak the Nozzles:
- Place the removed nozzles in a container filled with a suitable glue - removing solvent. Let them soak for the recommended amount of time, usually 15 - 30 minutes, to dissolve any glue buildup inside the nozzles.
- Clean the Nozzles:
- After soaking, use a soft brush or a nozzle - cleaning tool to gently clean the inside of the nozzles. Make sure to remove all the dissolved glue and debris.
- Rinse the nozzles thoroughly with clean water to remove any remaining solvent.
- Reinstall the Nozzles:
- Once the nozzles are clean and dry, reinstall them back into the machine according to the user manual's instructions.
3. Glue Tank Cleaning
- Empty the Glue Tank:
- Before cleaning the glue tank, make sure to empty it completely. Follow the proper procedures for disposing of the remaining glue in accordance with local regulations.
- Flush the Tank:
- Fill the glue tank with a cleaning solution recommended by the machine manufacturer. This solution is usually a mixture of water and a mild detergent.
- Run the machine for a short period to circulate the cleaning solution through the tank and the glue delivery system. This helps to remove any remaining glue residues from the internal components.
- Scrub the Tank:
- After flushing, use a soft brush to scrub the inside of the glue tank. Pay attention to the corners and edges where glue may accumulate.
- Drain the cleaning solution from the tank and rinse it thoroughly with clean water.
- Dry the Tank:
- Use a clean, dry cloth to wipe the inside of the glue tank and remove any excess water. Make sure the tank is completely dry before refilling it with glue.
4. Conveyor Belt Cleaning
- Remove the Conveyor Belt:
- If possible, remove the conveyor belt from the machine. This makes it easier to clean both sides of the belt.
- Clean the Belt:
- Use a mild detergent solution and a soft brush to clean the conveyor belt. Scrub gently to remove any glue residues, dirt, or debris.
- Rinse the belt thoroughly with clean water and dry it completely.
- Reinstall the Conveyor Belt:
- Once the belt is clean and dry, reinstall it back onto the machine, following the proper alignment and tensioning procedures.
5. Internal Component Cleaning
- Inspect the Internal Components:
- Open the machine's access panels and carefully inspect the internal components, such as the gears, bearings, and motors. Look for any signs of glue buildup, wear, or damage.
- Clean the Components:
- Use a soft brush and a cleaning solution to clean the internal components. Be careful not to damage any sensitive parts.
- For hard - to - reach areas, you can use compressed air to blow out any dust or debris.
- Lubricate the Components:
- After cleaning, apply a small amount of lubricant to the moving parts, such as the gears and bearings, as recommended by the machine manufacturer. This helps to reduce friction and ensure smooth operation.
Post - cleaning Checks
- Inspect the Machine:
- Once the cleaning process is complete, visually inspect the machine to make sure all the components are clean, dry, and properly reinstalled.
- Test the Machine:
- Plug the machine back into the power source and turn it on. Run a test cycle to check if the machine is functioning properly. Pay attention to the glue flow, nozzle performance, and overall operation.
- Document the Cleaning:
- Keep a record of the cleaning date, the cleaning procedures performed, and any observations or issues noted during the cleaning process. This documentation can be useful for future maintenance and troubleshooting.
Related Machines
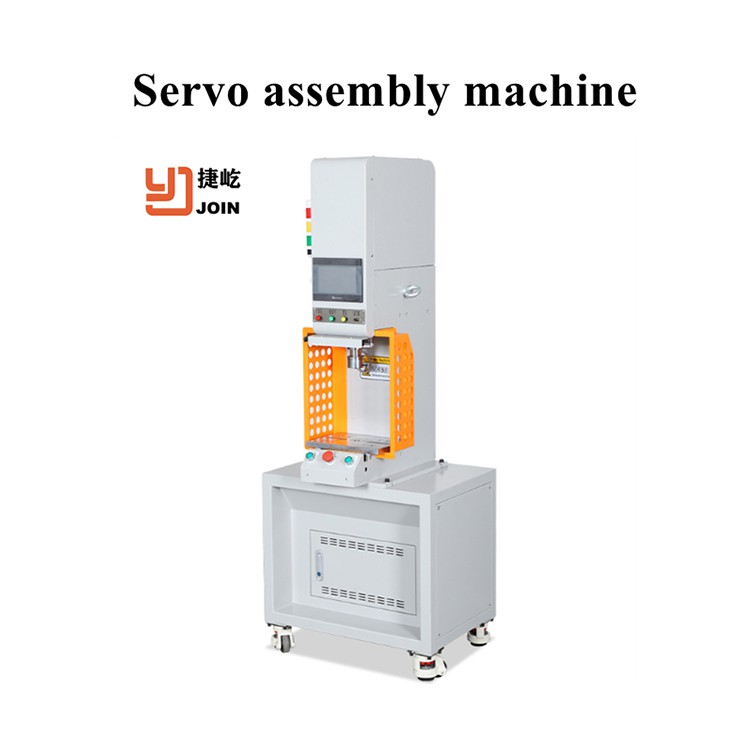
If you're in the market for other motor automation equipment, we also offer a range of high - quality machines, such as the Paper Insert Machine, Rotor Magnet Insert Machine, and Servo Assembly Machine. These machines are designed to meet the diverse needs of the motor manufacturing industry and are built with the same level of quality and reliability as our Rotor Gluing Machines.
Contact for Purchase and Consultation
Proper cleaning and maintenance of your Rotor Gluing Machine are essential for its long - term performance and efficiency. If you have any questions about cleaning your machine or are interested in purchasing a new Rotor Gluing Machine or other related equipment, please feel free to contact us. Our team of experts is ready to assist you with all your motor automation equipment needs.
References
- Machine User Manual: Rotor Gluing Machine.
- Industry Best Practices for Cleaning and Maintenance of Industrial Gluing Equipment.


